Want to master making coffee with AeroPress? This article covers all you need to know, from the basics to advanced tips. Discover how to brew rich, smooth coffee tailored just for you.
Key Takeaways
- The AeroPress utilizes pressure for a smooth, concentrated brew, allowing for personalized coffee flavor through various brewing techniques.
- Key factors in brewing with AeroPress include how much coffee to use, coffee-to-water ratio, grind size, temperature, and steeping time, with experimentation encouraged to achieve the desired taste.
- Regular cleaning and maintenance of the AeroPress are essential for optimal performance and flavor, including daily rinsing and occasional deep cleaning with vinegar.
Understanding the AeroPress
What is the AeroPress?
The AeroPress is a hand-powered, portable coffee brewing device that was invented by Alan Adler in 2005. Unlike traditional coffee makers, the AeroPress uses air pressure to extract flavors from coffee grounds, resulting in a smooth, full-bodied cup of coffee. This unique brewing method has made the AeroPress a favorite among coffee lovers for its ability to produce high-quality coffee with minimal effort.
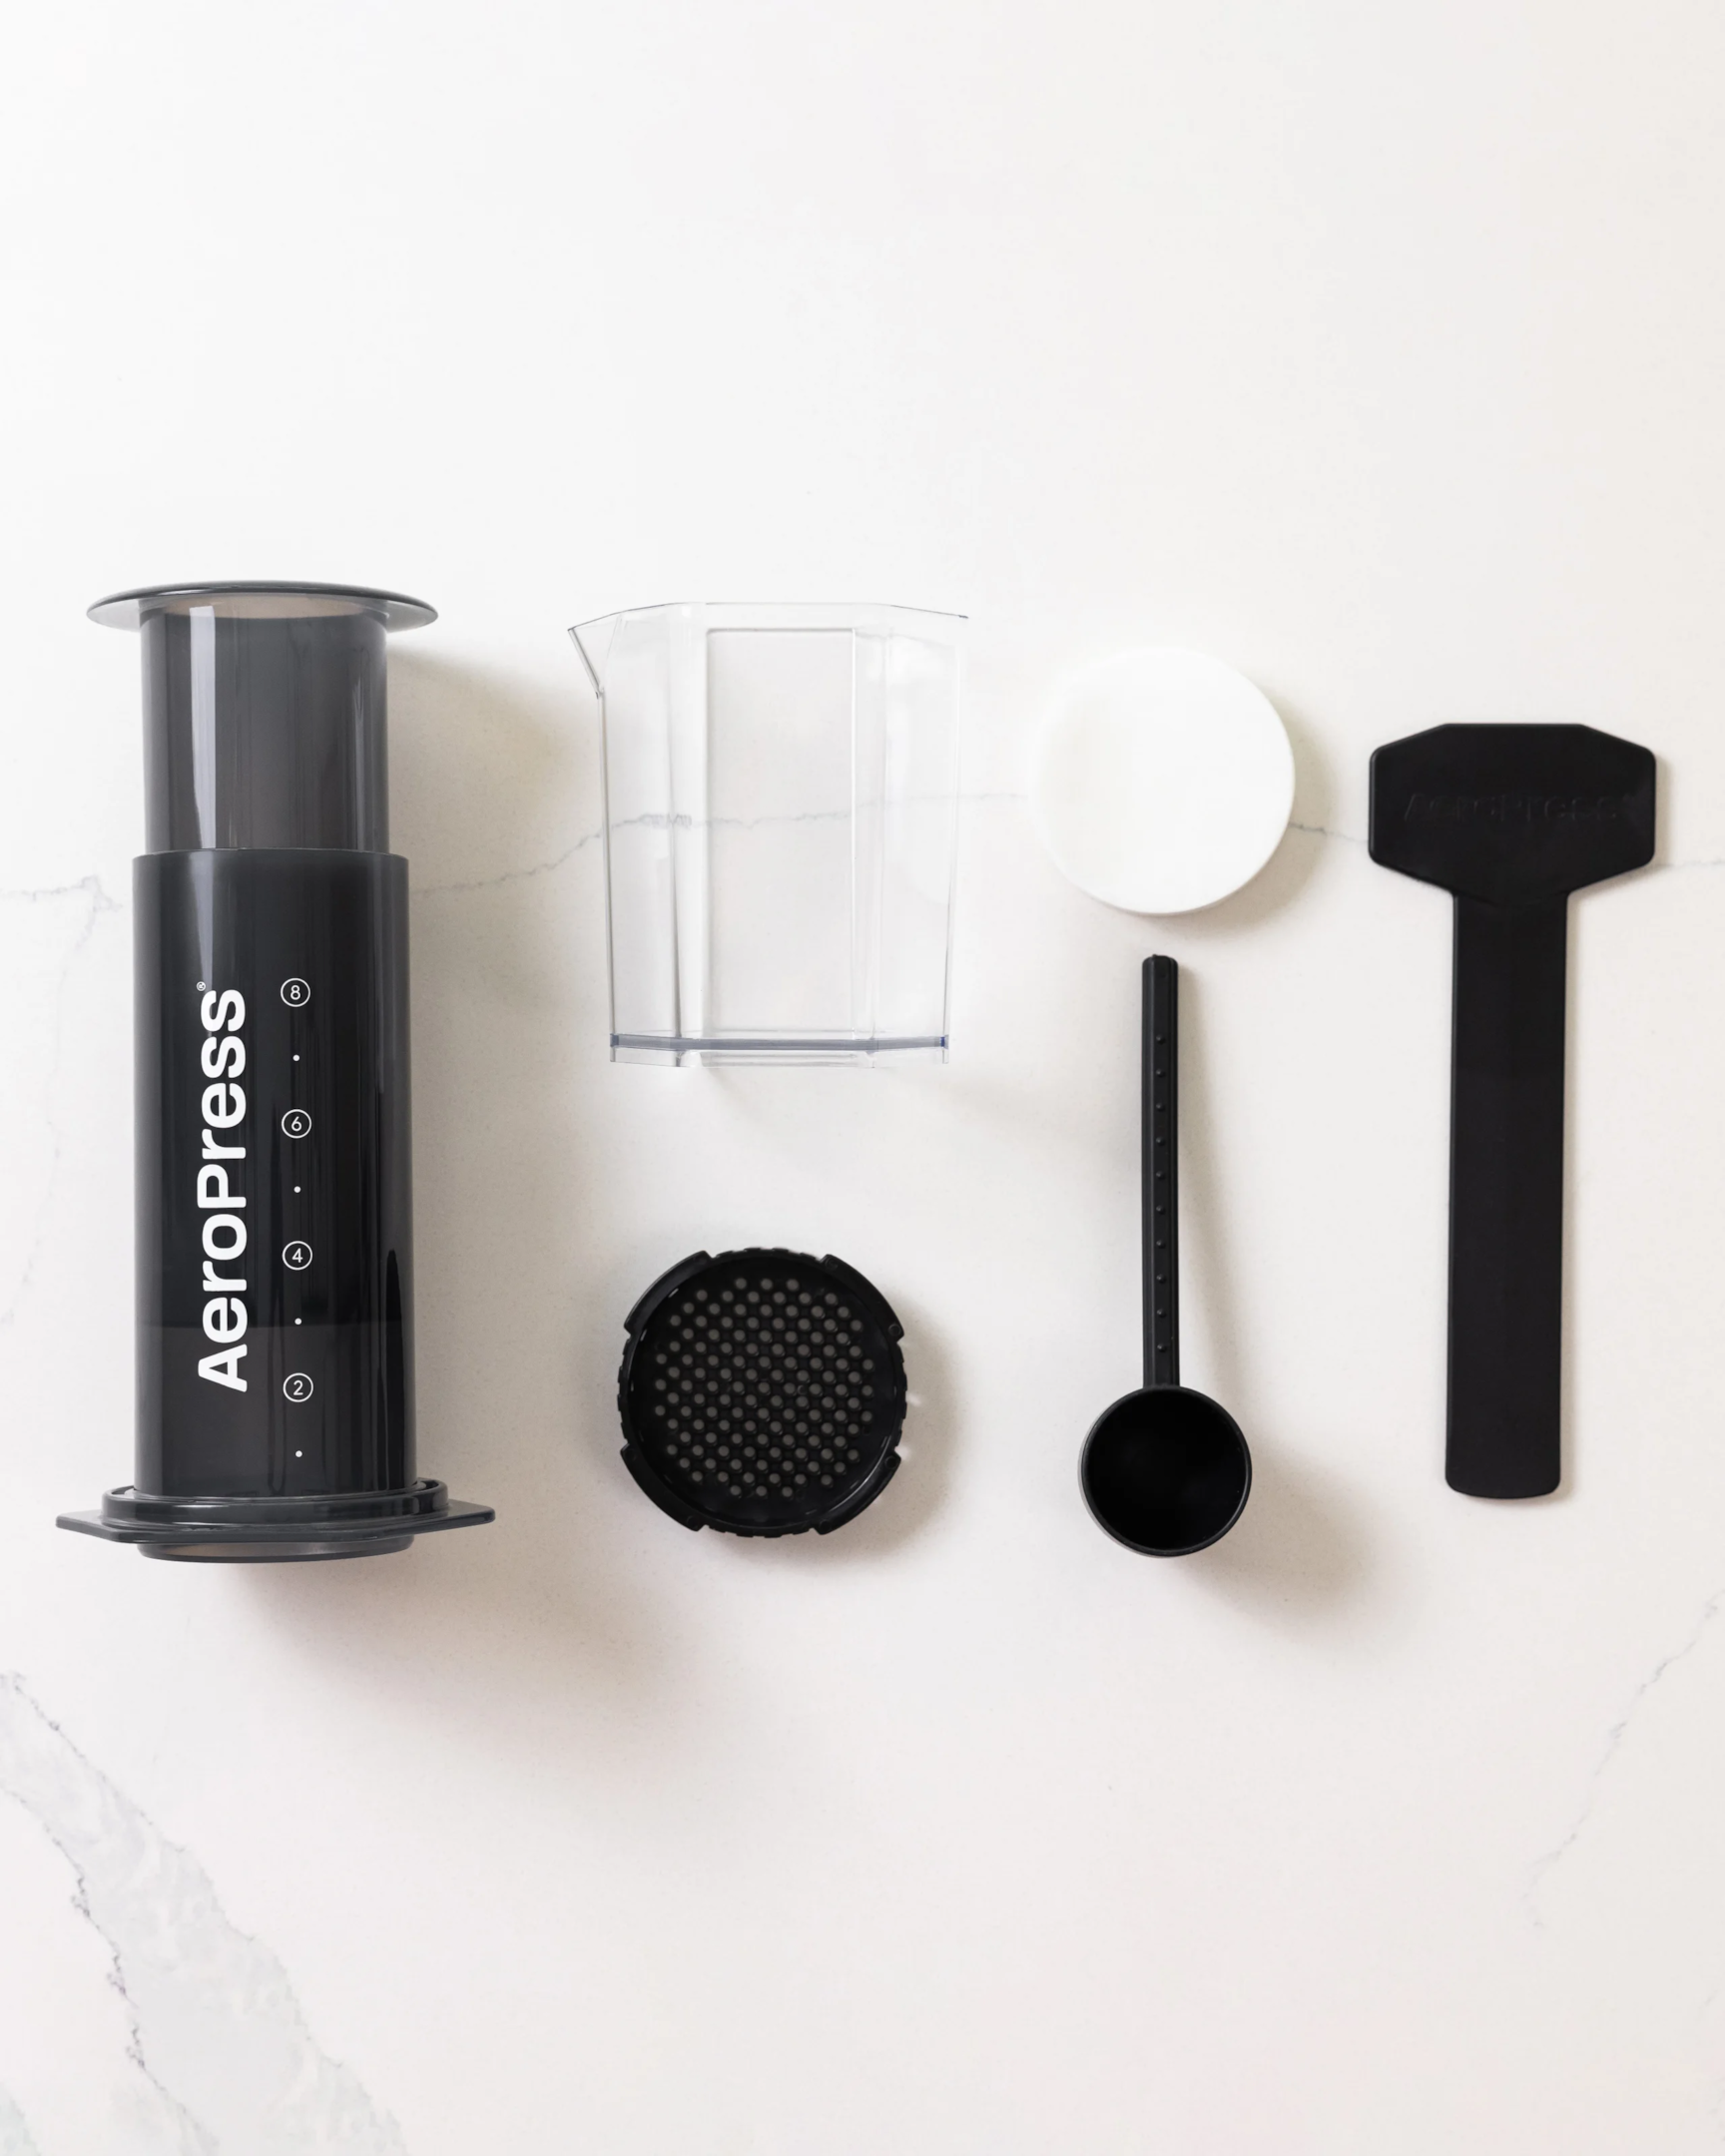
The AeroPress’s design is simple yet effective. It consists of a brew chamber, a plunger, and a filter cap. By pressing the plunger, you force hot water through the coffee grounds, extracting rich flavors and aromas. This process not only enhances the coffee’s taste but also reduces bitterness and acidity, making it a versatile tool for brewing coffee at home or on the go.
Getting Started with AeroPress
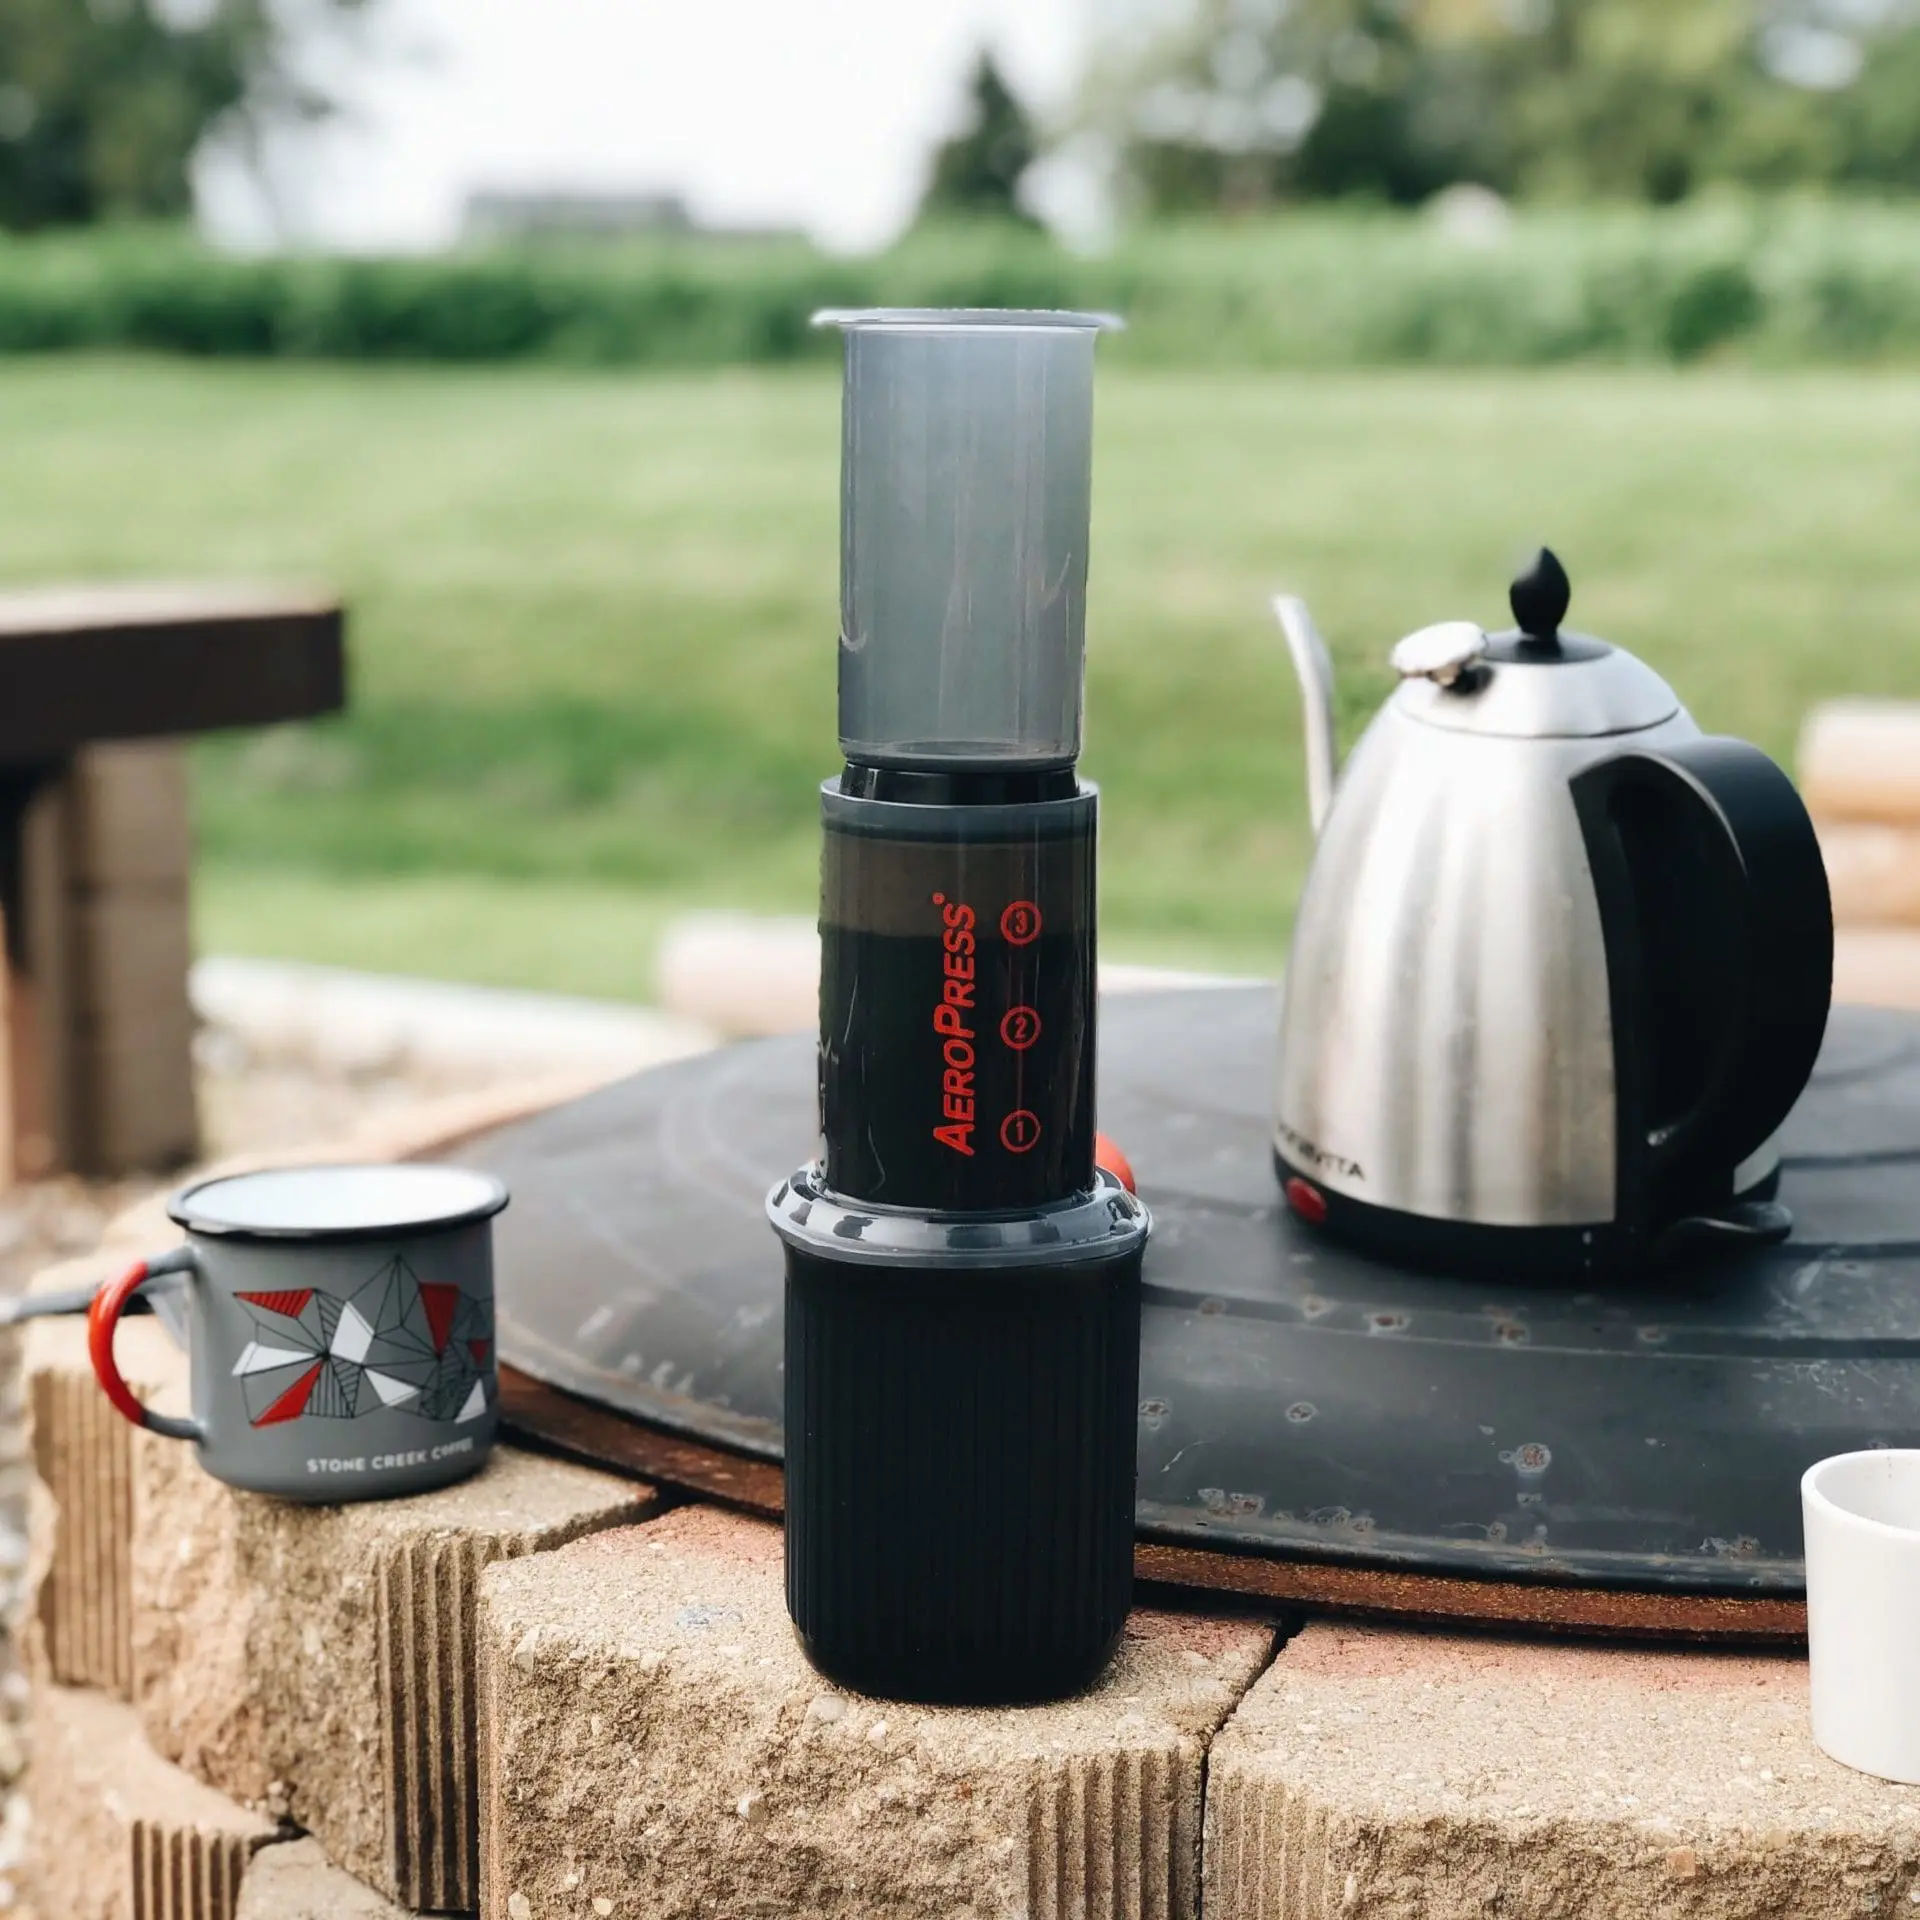
The AeroPress is not just another coffee maker; it’s a gateway to a world of rich, flavorful coffee that can be tailored to your taste. Unlike traditional methods like the French press, the AeroPress uses pressure to force water through coffee grounds, resulting in a smooth, concentrated brew. However, the AeroPress can only brew one 10 oz serving at a time and does not produce traditional espresso.
For those who love brewing coffee, the AeroPress is a game-changer. It offers the flexibility to experiment with different brewing techniques, making it possible to find that perfect coffee flavor.
Before starting the brewing process, gather the essentials needed for your AeroPress coffee maker.
What You Need
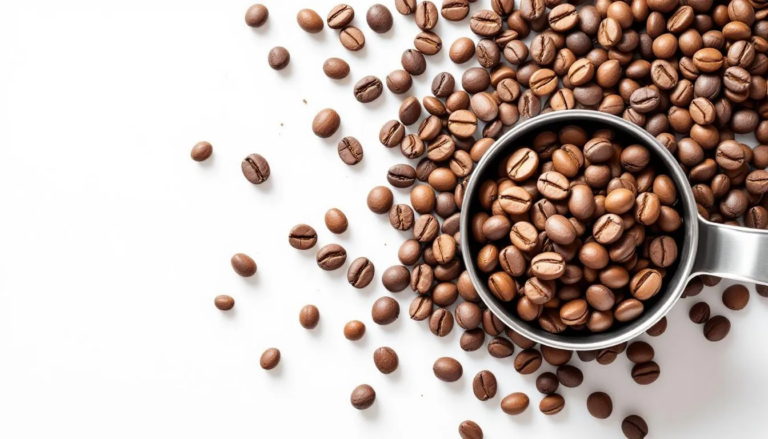
For an exceptional cup, start with whole coffee beans for the best flavor. Freshly ground coffee beans provide a richer and more aromatic brew compared to pre-ground options.
You’ll also need thin paper filters, which are specifically designed for the AeroPress. These filters help to remove any coffee grounds from your final brew, ensuring a clean cup of coffee. Additionally, it’s advisable to use filtered tap water to remove any unwanted flavors or odors, and the water temperature should be between 175°F to 195°F for optimal brewing.
Lastly, a sturdy mug or carafe is essential to hold your delicious AeroPress coffee, and these can be easily purchased from online platforms like Amazon or local coffee shops.
Preparing Your Equipment
Preparation is key to making coffee with the AeroPress. Start by inserting a paper filter into the AeroPress cap and wetting it with hot water. This not only helps the filter adhere properly but also preheats the cap, which is crucial for maintaining the right brewing temperature.
Next, pour hot water into the brew chamber and your mug to preheat them before brewing. Preheating ensures that the brewing process starts at the right temperature, which is essential for extracting the best flavors from your coffee grounds. Once your equipment is prepared, you’re ready to move on to the actual brewing process.
Preparing for the Perfect Brew
Coffee Preparation
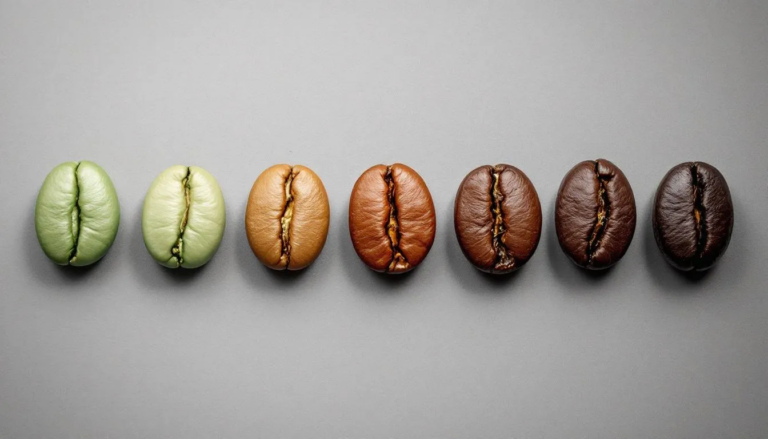
To prepare for the perfect brew, it’s essential to start with high-quality coffee beans. Freshly roasted and ground coffee is ideal for brewing with the AeroPress, as it ensures the best flavor and aroma. Aim for a medium-fine grind, similar to kosher salt, to achieve optimal extraction. If you’re using a burr grinder, adjust the grind setting to get the desired consistency. For those using pre-ground coffee, make sure it’s freshly opened and stored properly to maintain its freshness.
The Brewing Process: Step-by-Step Guide

Now that your equipment is ready, it’s time to dive into the brewing process. AeroPress coffee is known for its unique brewing method, which uses pressure to force water through coffee grounds, resulting in a rich and smooth cup of coffee.
The brewing process involves several key variables, including coffee-to-water ratio, grind size, brew time, water temperature, saturation method, and the pressure applied. Let’s explore each step in detail to help you master the AeroPress.
Measuring Coffee and Water
Accurate measurement of coffee and water is crucial for achieving the desired flavor in AeroPress brewing. Knowing how much coffee to use is crucial for achieving the desired flavor in AeroPress brewing. A common starting point for the coffee-to-water ratio is 1:12, but stronger preferences often lean towards 1:6. This ratio can significantly influence the strength and flavor of your coffee, so it’s essential to find the right balance.
For those who prefer a more moderate strength, a 1:15 coffee-to-water ratio is often recommended. This ratio provides a balanced flavor that’s neither too strong nor too weak. Remember, the key to perfecting your AeroPress coffee is to experiment with different ratios until you find the one that suits your taste best.
When measuring your coffee and water, use a scale for precision. This ensures that you are consistently using the right amount of each ingredient, which is vital for maintaining the quality of your brew. Once you have measured your coffee and water, you’re ready to move on to grinding the coffee beans.
Grinding Coffee Beans
The grind size of your coffee beans plays a significant role in the flavor and quality of your AeroPress coffee. A medium-fine grind, similar to table salt, is generally recommended for most AeroPress recipes. This grind size allows for optimal extraction and a well-balanced flavor.
However, the beauty of the AeroPress lies in its versatility. You can experiment with different grind sizes to discover new flavors and strengths in your coffee. For instance, a finer grind is typically recommended for AeroPress, but adjusting the grind size can significantly alter the coffee’s flavor.
Once you’ve found your preferred grind size, you’re ready to assemble your AeroPress.
Assembling the AeroPress
Assembling the AeroPress correctly is crucial for a smooth brewing process. Start by placing the filter in the filter cap and attaching it to the brew chamber. Ensure that the cap is tightly locked into the grooves to prevent any leaks during brewing.
Ensure the AeroPress assembly is completely dry before use to avoid any brewing issues. Once assembled, flip the AeroPress over quickly and carefully to begin brewing. It’s time to add your coffee grounds.
Adding Coffee Grounds
A funnel can help minimize spills and maintain a neat workspace. Place the funnel atop the brew chamber and pour the ground coffee through it, allowing for precise and spill-free addition.
This technique maintains a clean brewing process, letting you focus on perfecting your coffee without distraction from cleanup. With the coffee grounds in place, you’re ready to pour the hot water.
Pouring Hot Water
The ideal water temperature for AeroPress brewing is around 205°F. Begin by pouring about 35 grams of hot water into the brew chamber to saturate the coffee grounds within 10 seconds, helping to bloom the coffee and release its flavors and aromas.
Continue pouring the remaining water, aiming for a total of 250 grams. If using a scale, 220 grams of water is recommended for optimal brewing. Ensure that all the coffee grounds are evenly saturated before moving on to the next step.
Stirring and Steeping
Stirring the coffee-water mixture ensures even extraction. After pouring water into the brew chamber, stir briefly with the included paddle to wet all the grounds evenly.
Let the coffee grounds sit for about 30 seconds after adding water for proper steeping. The typical brew time ranges from 2-3 minutes, with factors such as grind size affecting the duration. Once steeping is complete, press and serve your coffee.
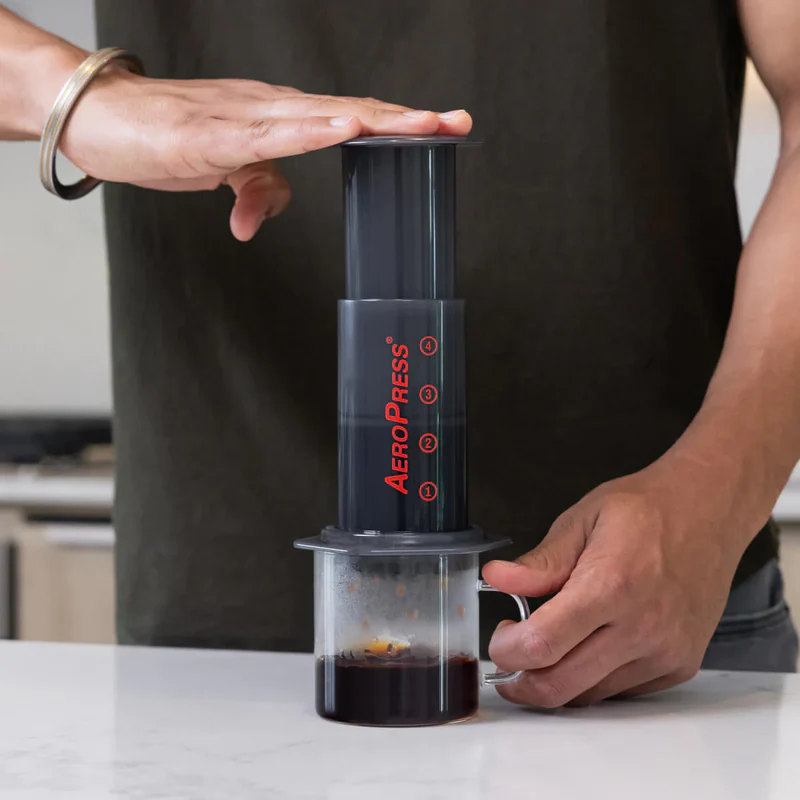
Pressing and Serving
Pressing the AeroPress requires a bit of strength, with approximately 30 pounds of resistance, ensuring consistent flavor extraction. If it feels too hard, the grind may be too fine, affecting the brewing process.
Press the plunger slowly and steadily, stopping once you hear a hissing sound, indicating that all the coffee has been extracted. Avoid applying too much pressure to prevent leaks from the sides of the filter cap.
The AeroPress typically yields seven to eight ounces of coffee, perfect for a satisfying cup. Once pressed, your AeroPress coffee is ready to be enjoyed. Whether you prefer it black or with a splash of milk, savor the rich and smooth flavors that the AeroPress brings to your cup.
Coffee Bed and Extraction
The coffee bed refers to the layer of coffee grounds in the brew chamber. Achieving an even coffee bed is crucial for optimal extraction. When you pour hot water over the coffee grounds, it should evenly saturate the coffee bed, allowing for a uniform extraction. The AeroPress uses a paper filter to separate the coffee grounds from the liquid, which helps to prevent over-extraction and bitterness.
During the brewing process, pour hot water over the coffee grounds, stir to ensure even saturation, and then press the mixture through the filter. This method produces a smooth, full-bodied cup of coffee that highlights the rich flavors of the coffee beans. By paying attention to the coffee bed and extraction process, you can consistently brew a perfect cup of AeroPress coffee.
Exploring AeroPress Brewing Methods
The AeroPress’s versatility allows for various brewing methods, each influencing the coffee’s flavor and strength. From immersion to pressure brewing, it offers endless possibilities for coffee lovers.
One popular alternative brewing technique is the inverted method.
Inverted Method
The inverted method is favored by those seeking more control and a stronger flavor. Assemble the AeroPress by placing the plunger in the brew chamber upside-down, allowing for greater immersion and flavor extraction.
The inverted method can be less stable and requires careful handling to avoid burns. Steep the coffee for about one minute, then carefully flip the AeroPress and press to serve.
This method provides a unique brewing experience and a robust cup of tasting coffee.
Fine-Tuning Your Brew

Using an AeroPress allows you to fine-tune your brew to suit personal taste. It can be adjusted in various ways, letting you experiment and discover your signature coffee flavor.
From altering the coffee-to-water ratio to adjusting the grind size, explore different ways to perfect your AeroPress coffee.
Adjusting Coffee-to-Water Ratio
The coffee-to-water ratio is crucial for determining the strength and flavor of AeroPress coffee. While the traditional method uses a ratio of around 1:16, many prefer a stronger brew closer to 1:6 for more intensity.
Adjusting this ratio lets you customize the coffee’s strength. If it’s too weak, use less water or more coffee grounds; if too strong, add more water to dilute it. Experimenting with ratios helps you find your perfect cup.
Experimenting with Grind Size
The grind size significantly impacts the flavor and strength of AeroPress coffee. A medium-fine grind, similar to table salt, is typically recommended. Experimenting with different grind sizes can lead to discovering new and exciting flavors.
A finer grind, similar to espresso, creates a more intense, concentrated flavor, while a coarser grind results in a milder, balanced taste. Adjusting the grind size affects extraction time and overall taste, so find a balance that suits your palate. This experimentation tailors the coffee to your unique preferences.
Controlling Brew Time
Brew time can be adjusted to fine-tune your AeroPress coffee. Shorter brew times, around 1-2 minutes, produce a brighter cup with more acidity. Longer brew times, ranging from 3-4 minutes, result in a sweeter, more robust flavor.
The recommended brew time for AeroPress coffee typically falls between 2 to 4 minutes, depending on grind size and desired strength. Adjusting the brew time controls the extraction process, allowing you to achieve different flavor profiles and enjoy a coffee experience tailored to your taste.
Tinkering with Water Temperature
Water temperature is crucial for brewing AeroPress coffee. The ideal range is between 195°F and 205°F. Water below 175°F can result in a flat taste with low acidity, while water above 205°F may cause over-extraction and bitterness.
Experimenting with different warm water temperatures optimizes flavor extraction and achieves the perfect balance in your coffee. Adjusting the temperature influences acidity, sweetness, and overall flavor profile, offering endless possibilities to explore.
Cleaning and Maintenance
Regular cleaning and maintenance keep your AeroPress in good working order and ensure it continues to produce quality coffee. Proper care extends its lifespan and ensures each cup is free from unwanted residues and flavors.
Explore the daily cleaning routine and some tips for deep cleaning your AeroPress.
Daily Cleaning Routine
A simple daily cleaning routine involves removing the filter cap, discarding used coffee grounds and filter, and rinsing the plunger with hot water. This quick rinse keeps your AeroPress clean and ready for the next use. Occasionally, remove the plunger seal for a more thorough cleaning.
For deeper cleaning, soak the AeroPress parts in a mixture of water and vinegar to eliminate stubborn residues. This removes any lingering coffee oils or deposits, ensuring a clean cup of coffee every morning.
Deep Cleaning Tips
If the AeroPress chamber becomes sticky, washing it with vinegar can help restore cleanliness. Regularly clean the filter cap and basket with soap to remove coffee oils and prevent buildup.
For a deeper clean, use a sponge with dish soap to tackle stubborn residue on the AeroPress components. Occasionally, remove the seal from the plunger to ensure thorough cleaning. Regular deep cleaning enhances the longevity and performance of your AeroPress.
Summary
Mastering the AeroPress involves understanding and experimenting with various factors, including coffee-to-water ratio, grind size, brew time, and water temperature. By following the step-by-step guide and exploring different brewing methods, you can tailor your AeroPress coffee to your personal taste preferences.
Remember, the journey to the perfect cup of coffee is a continuous process of experimentation and discovery. Embrace the freedom to modify your brew and enjoy the rich, flavorful results that the AeroPress offers. Happy brewing!
Frequently Asked Questions
What is the best coffee-to-water ratio for AeroPress?
The ideal coffee-to-water ratio for AeroPress is typically 1:12 for a well-balanced brew, but you can adjust to a stronger 1:6 ratio if preferred. Experimenting with these ratios can help you find your perfect cup.
What grind size should I use for AeroPress coffee?
For AeroPress coffee, a medium-fine grind, akin to table salt, is generally recommended. Feel free to experiment with different grind sizes to uncover unique flavors.
How long should I brew AeroPress coffee?
For optimal AeroPress coffee, brew for 2 to 4 minutes, adjusting based on grind size and strength preference.
What is the ideal water temperature for AeroPress brewing?
The ideal water temperature for AeroPress brewing is between 195°F and 205°F, as using water outside this range can negatively affect the flavor of your coffee.
How do I clean my AeroPress?
To keep your AeroPress clean, regularly remove the filter cap, discard the used coffee grounds and filter, and rinse the plunger with hot water. For a deeper clean, soak the parts in a mixture of water and vinegar.